
Your Step-by-Step Guide to Carving the Perfect Christmas Ham
A beautifully carved Christmas ham always elevates the festive table, and the good news is that the carving process is the same whether your ham is glazed or unglazed. With a few simple techniques and the right tools, you can create neat, even slices that look great and make serving easier.
This guide walks you through each step so you can carve your ham confidently, from positioning and trimming to slicing and presenting it beautifully.
Before You Start: Set Yourself Up for Success
Choose the Right Tools
You don’t need special equipment, just:

-
A long, sharp carving knife
-
A steady carving fork
-
A large chopping board (preferably one with grooves to catch juices)
A sharp knife does most of the work for you, giving cleaner cuts and helping you maintain control.
Step 1: Position the Ham Correctly
If you're working with a bone-in ham, the bone will naturally guide your slicing. Place the ham skin-side up, with the shank pointing towards you. This helps you identify the grain of the meat and cut across it for even slices.
For boneless hams, simply place the ham flat-side down so it’s stable.

Step 2: Remove the Rind or Skin (If Needed)
Not all hams require the rind to be removed. Some hams come pre-trimmed or with a softened layer that’s already suitable for carving.
-
Remove the rind if it feels thick, firm, or leathery — this makes carving easier and gives cleaner slices.
-
Skip this step if your ham is already rindless, partially trimmed, or has a soft skin layer that your knife can glide through without resistance.
If you do need to remove it, slide your knife between the rind and the fat layer and lift it away in one smooth motion.

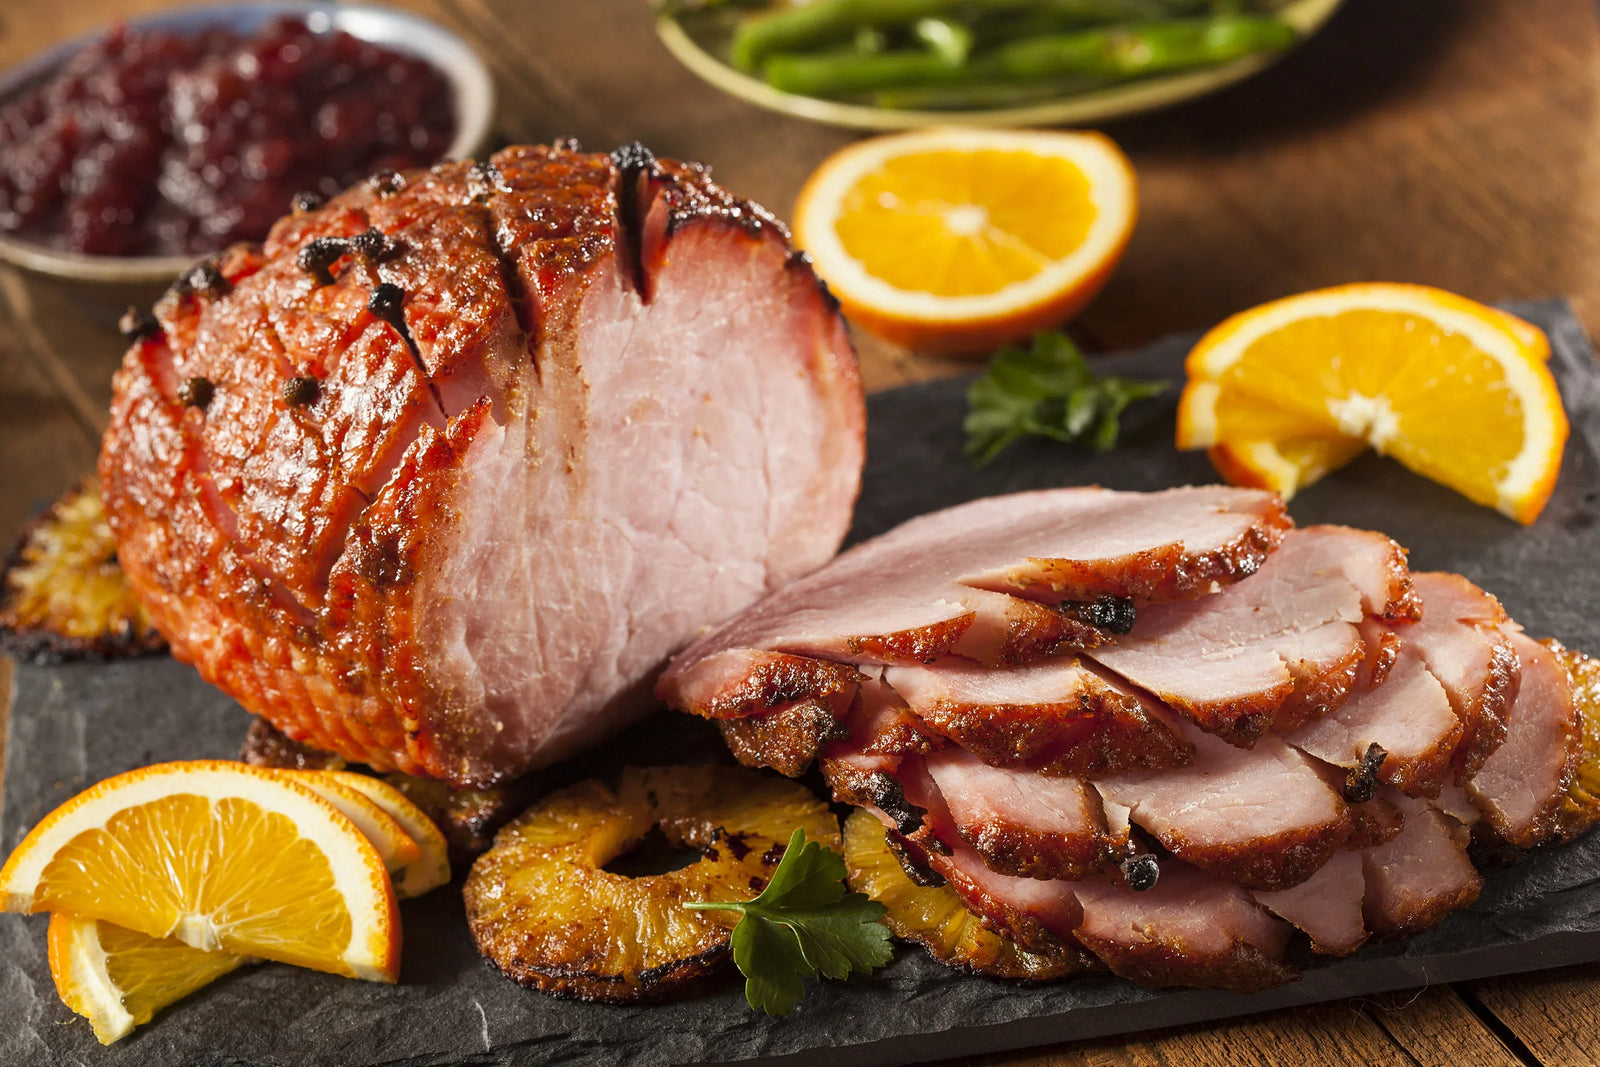
Step 3: Carve Across the Grain
Start by slicing across the ham, not lengthwise. Cutting across the grain gives you neat, tender slices.
For bone-in hams:
-
Begin with shallow slices at the thicker end.
-
Work your way down towards the bone, removing slices as you go.
-
Once you reach the bone, cut around it to release larger sections you can slice on the board.
For boneless hams:
-
Simply carve straight, even slices from one end to the other.
-
Keep the thickness consistent for nicer plating.

Step 4: Keep Slices Comfortable and Even
Aim for slices around 5mm thick. They hold their shape well and suit both hot ham and cold ham sandwiches, platters, and leftover ideas the next day.
If you’re serving a crowd, lay the slices slightly overlapping — it looks impressive with minimal effort.
Step 5: Use the Bone to Your Advantage (Bone-in Only)
The bone is your built-in guide. As you carve, you’ll feel where the meat naturally stops. Glide your knife along the bone to separate the last sections without hacking. This helps avoid waste and gives you cleaner pieces to work with.
Step 6: Present It Beautifully
Once carved, transfer slices to a serving platter. Fan them out for height and visual appeal.
If your ham has a glazed layer or garnish, keep a section intact on the platter to highlight it.
For buffet-style Christmas lunches, keep the ham whole and carve as needed to maintain freshness.
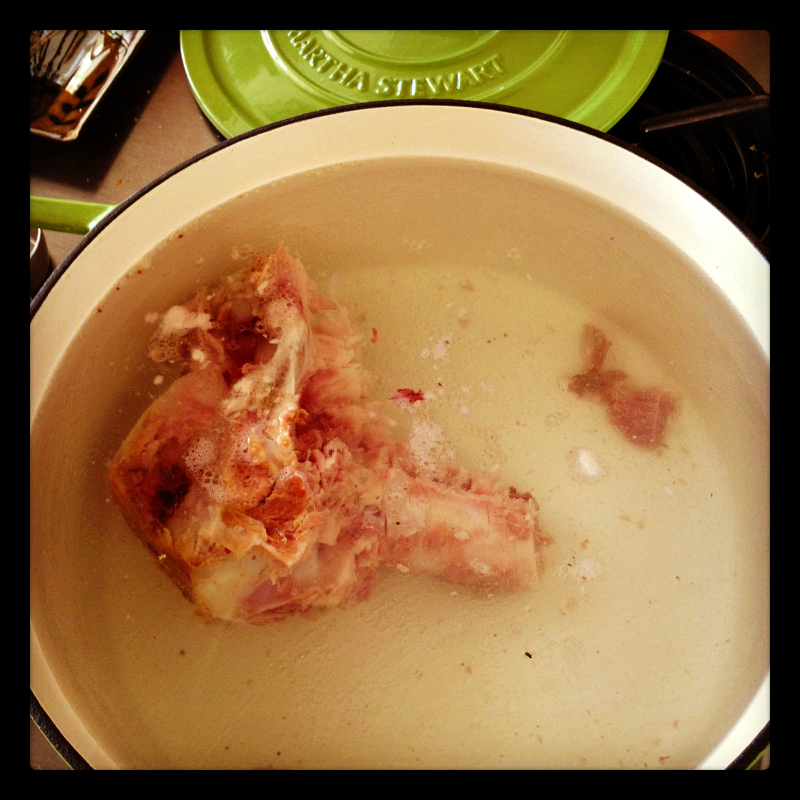
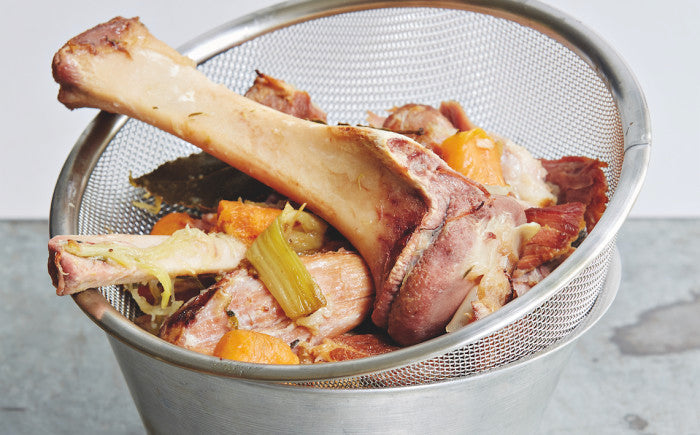
Bonus Tip: Save the Ham Bone
The ham bone is gold. Pop it in the freezer for later — it adds incredible depth to soups, broths, and winter stews. It’s too good to throw away.
Final Thoughts
Carving your Christmas ham doesn’t need to be intimidating. With the right tools and a few simple steps, anyone can plate up neat, impressive slices. Whether you’ve chosen a bone-in ham or a boneless classic from Online Meats, taking a little care with carving helps make your festive meal look the part.